Adding an accessibility menu
Adding an accessibility menu at the start of your survey or within specific sections helps make the accessibility options more prominent to survey respondents. While accessibility settings are always available in the top right corner of the screen, a dedicated menu ensures respondents are aware of the available assistance modes (like Easy Read, Sign Language, or Screen Reader optimizations) right from the start.
Prerequisites
- You must have a survey created and be in the Compose mode of the survey builder.
- You should have already activated the desired accessibility modes in the Behavior settings of your survey.
Steps
1. Focus on a Markdown Editor
In the Compose tab, navigate to the field where you want to add the accessibility menu. This is typically done in the Survey Introduction or a Free Text field.
Click on the text area to focus the markdown editor.
2. Insert the Accessibility Menu Tag
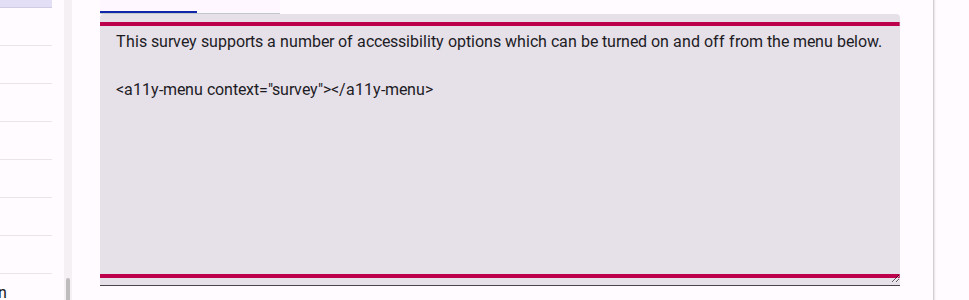
Add the following tag into the markdown content where you want the menu to appear:
<a11y-menu ></a11y-menu>TIP
The menu is intelligent: it will only display the accessibility options that you have enabled for your survey in the Behavior settings.
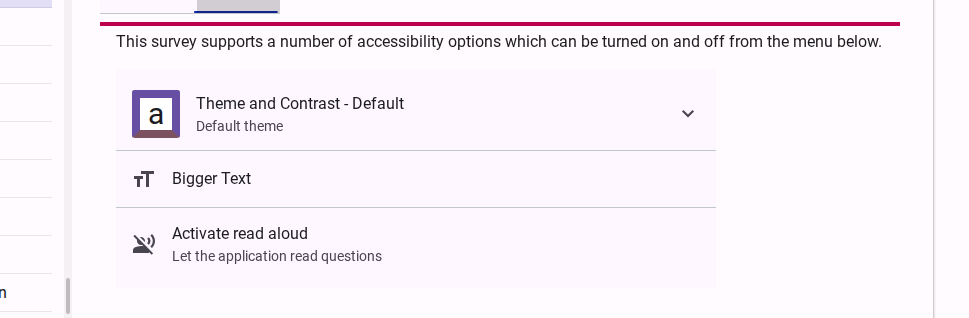
3. Preview the Accessibility Menu
To verify how the menu will look for your respondents, click on the Preview tab of the field.
Alternative: Adding to the Landing Page
This short video show you how you can add an accessibility menu to a survey's 'Landing Page';
Next Steps
Once the menu is added, you can continue to customize your survey. Respondents will now see a clear set of options to tailor the survey experience to their needs.