
Importing a Team Audience
Use Audience Import to populate a listserv channel from an existing team Audience — the reusable contact list managed in the Customer Portal (Team Settings → Audiences). Importing adds eligible contacts as active channel subscribers in one pass, without sending confirmation emails or asking people to subscribe again.
Permissions and Data Controller Responsibility
Only a channel owner or editor can run an import from Channel Settings → Audience Import (channel moderators also have read access to the import history). Because imported subscribers bypass individual double opt-in, you must confirm before each import that your organization has a lawful basis and permission to send broadcasts from this channel. Purchased or scraped lists are not permitted.
Before You Start
- Team audience ready: The audience must belong to the same team as the listserv channel (up to 10,000 unique recipients per import). Both active and archived audiences can be imported; importing never modifies the source audience. To create an audience or add recipients from a CSV, follow How to Manage Team Audiences first; this guide starts from an audience that already exists.
- No emails sent at import time: Importing creates or links subscriber records silently. Mailing-list delivery is synced automatically when you send your next broadcast.
Step 1: Open the Audience Import Dialog
- Sign in to the Listserv application as a channel owner or editor.
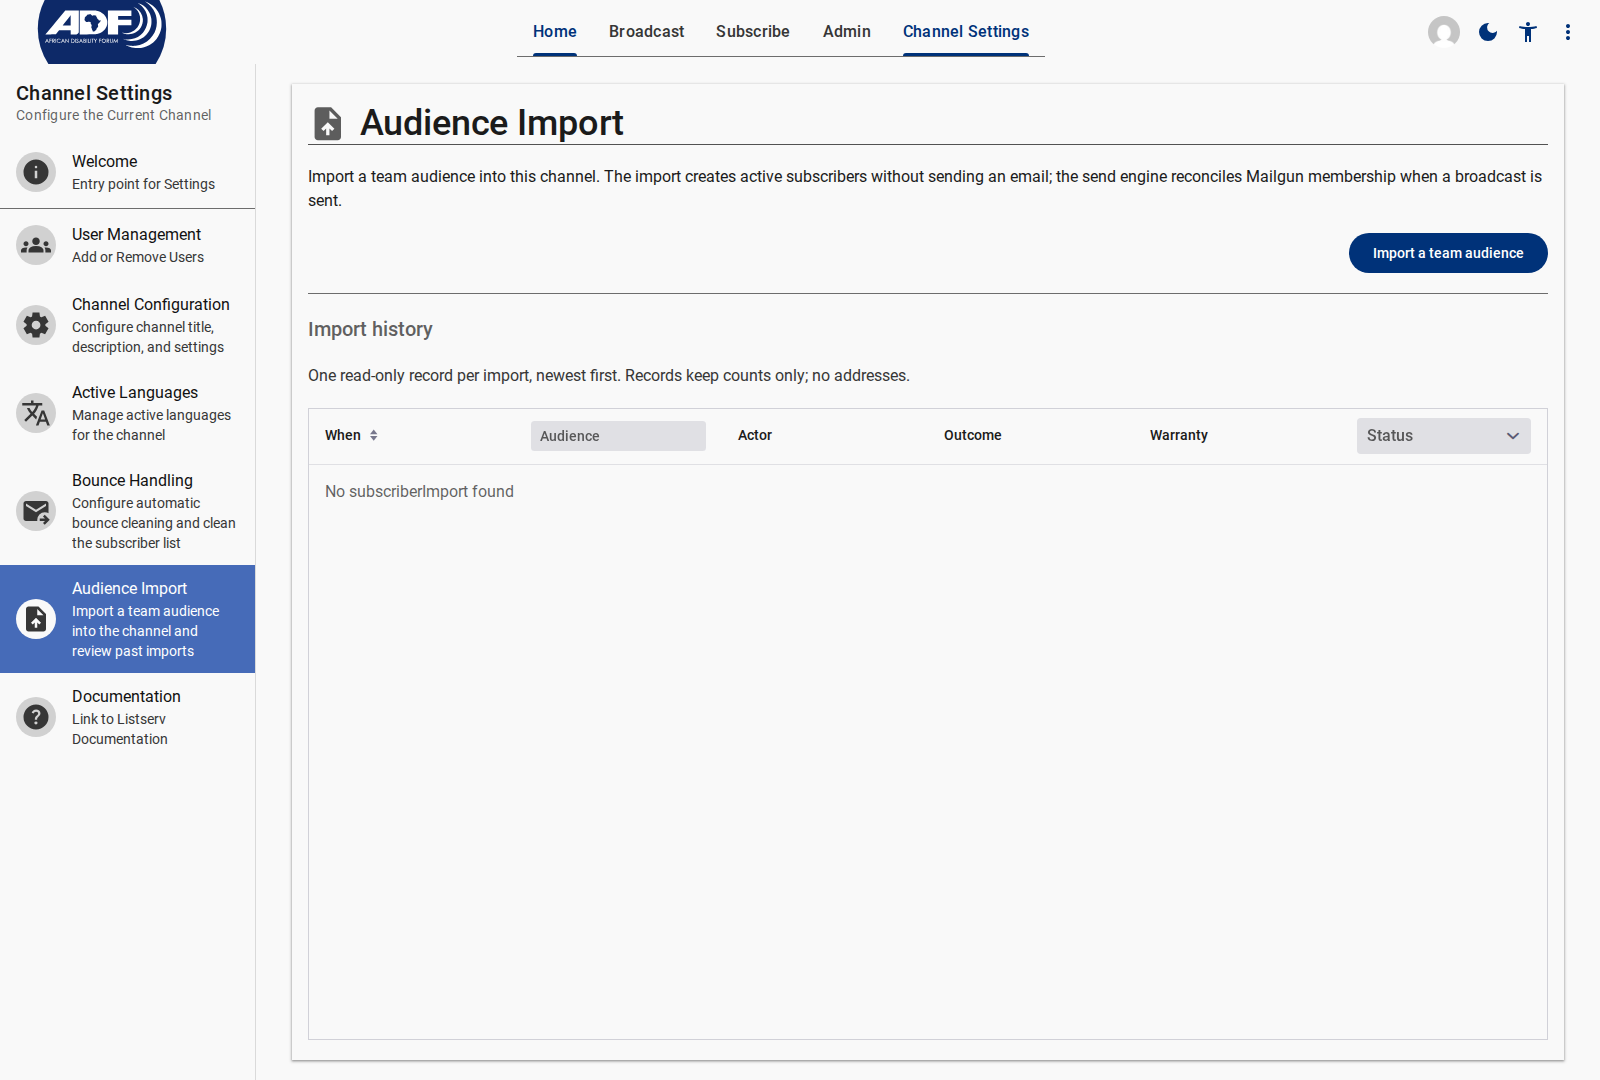
- Click Channel Settings in the top navigation bar, then select Audience Import in the left drawer.
- Click Import a team audience to open the import dialog.
Step 2: Select a Team Audience
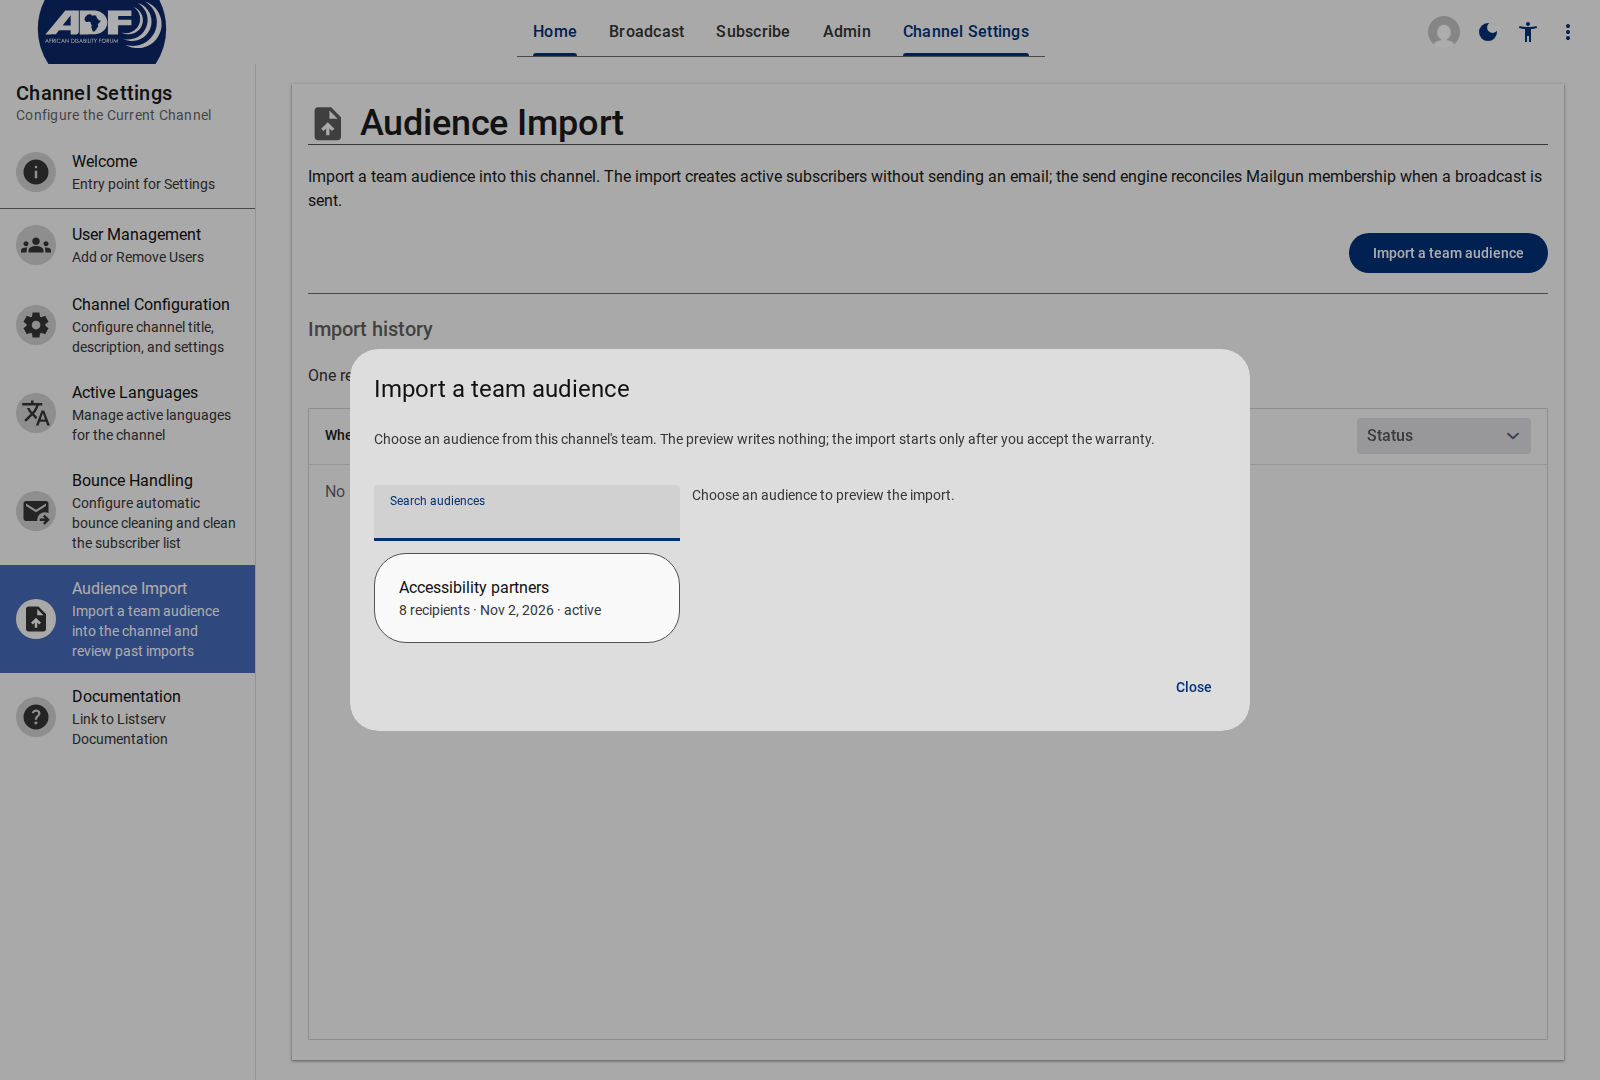
- In the Import a team audience dialog, use Search audiences to filter your team's audiences by name.
- Review each audience's recipient count, last-updated date, and status (
activeorarchived). Audiences exceeding the 10,000-recipient limit are markedover the 10,000 limitand disabled. - Click an audience to generate a read-only preview on the right.
Step 3: Review the Outcome Preview
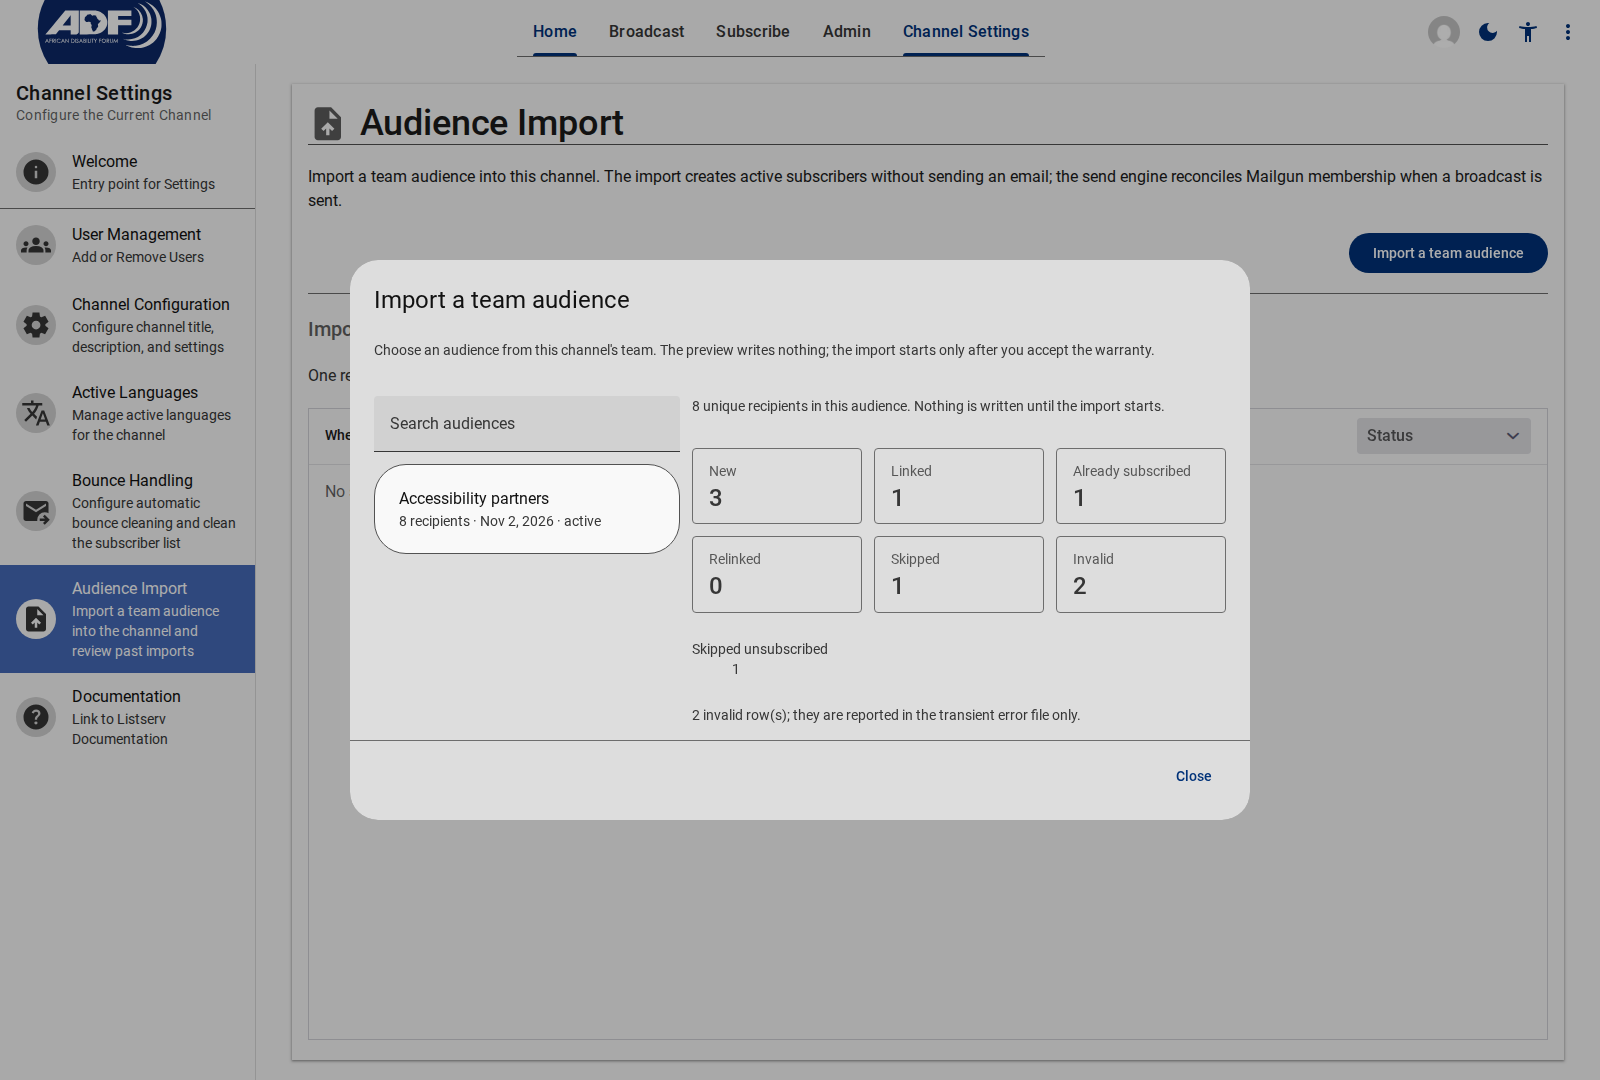
Before anything is written, the preview classifies every unique email address in the selected audience:
| Metric | What Happens During Import |
|---|---|
| New | A new active subscriber record and user account will be created. |
| Linked | The email address already has a platform account; a new subscriber record will be linked to that existing account. |
| Already subscribed | The person is already an active subscriber in this channel. Existing delivery preferences are never overwritten; if their subscriber record was missing a display name or language, the audience's values are filled in and counted under Updated existing records. |
| Relinked | An active subscriber whose account link was missing will be reconnected to their user account. |
| Skipped | Recipients who are pending, unsubscribed, bounced, or organization-wide suppressed are left untouched and never re-subscribed. A breakdown below the tiles lists the exact count for each skipped reason. |
| Invalid | Rows with a missing or malformed email address (reported in the downloadable error CSV after the run). |
Privacy-First Preview
The preview writes nothing to the channel and displays aggregate counts only — never individual email addresses. Duplicate email addresses within the same audience are automatically collapsed to a single subscriber.
Step 4: Accept the Consent Warranty and Start the Import
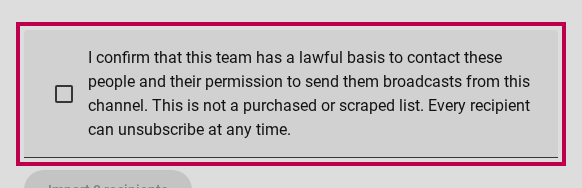
- Read the consent warranty statement below the preview counts.
- Tick the confirmation checkbox to warrant that your team has a lawful basis and permission to send broadcasts from this channel, that the list is not purchased or scraped, and that every recipient can unsubscribe at any time.
- Click Import N recipients (the button remains disabled until the checkbox is ticked).
The dialog displays a live progress bar (X of Y processed) as recipients are imported.
Resuming a Long or Interrupted Import
You can safely close the dialog or leave the page while a large import is running. Progress is saved continuously, and all subscriber writes are idempotent. If a run is interrupted or encounters a temporary error, reopen Import a team audience and click Resume to continue from the last processed recipient without creating duplicates.
Step 5: Inspect the Result and Download Any Error Report
When the run finishes, the dialog displays Import completed (or Import failed) with the final counts across New, Linked, Already subscribed, Relinked, Skipped, Invalid, and Failed.
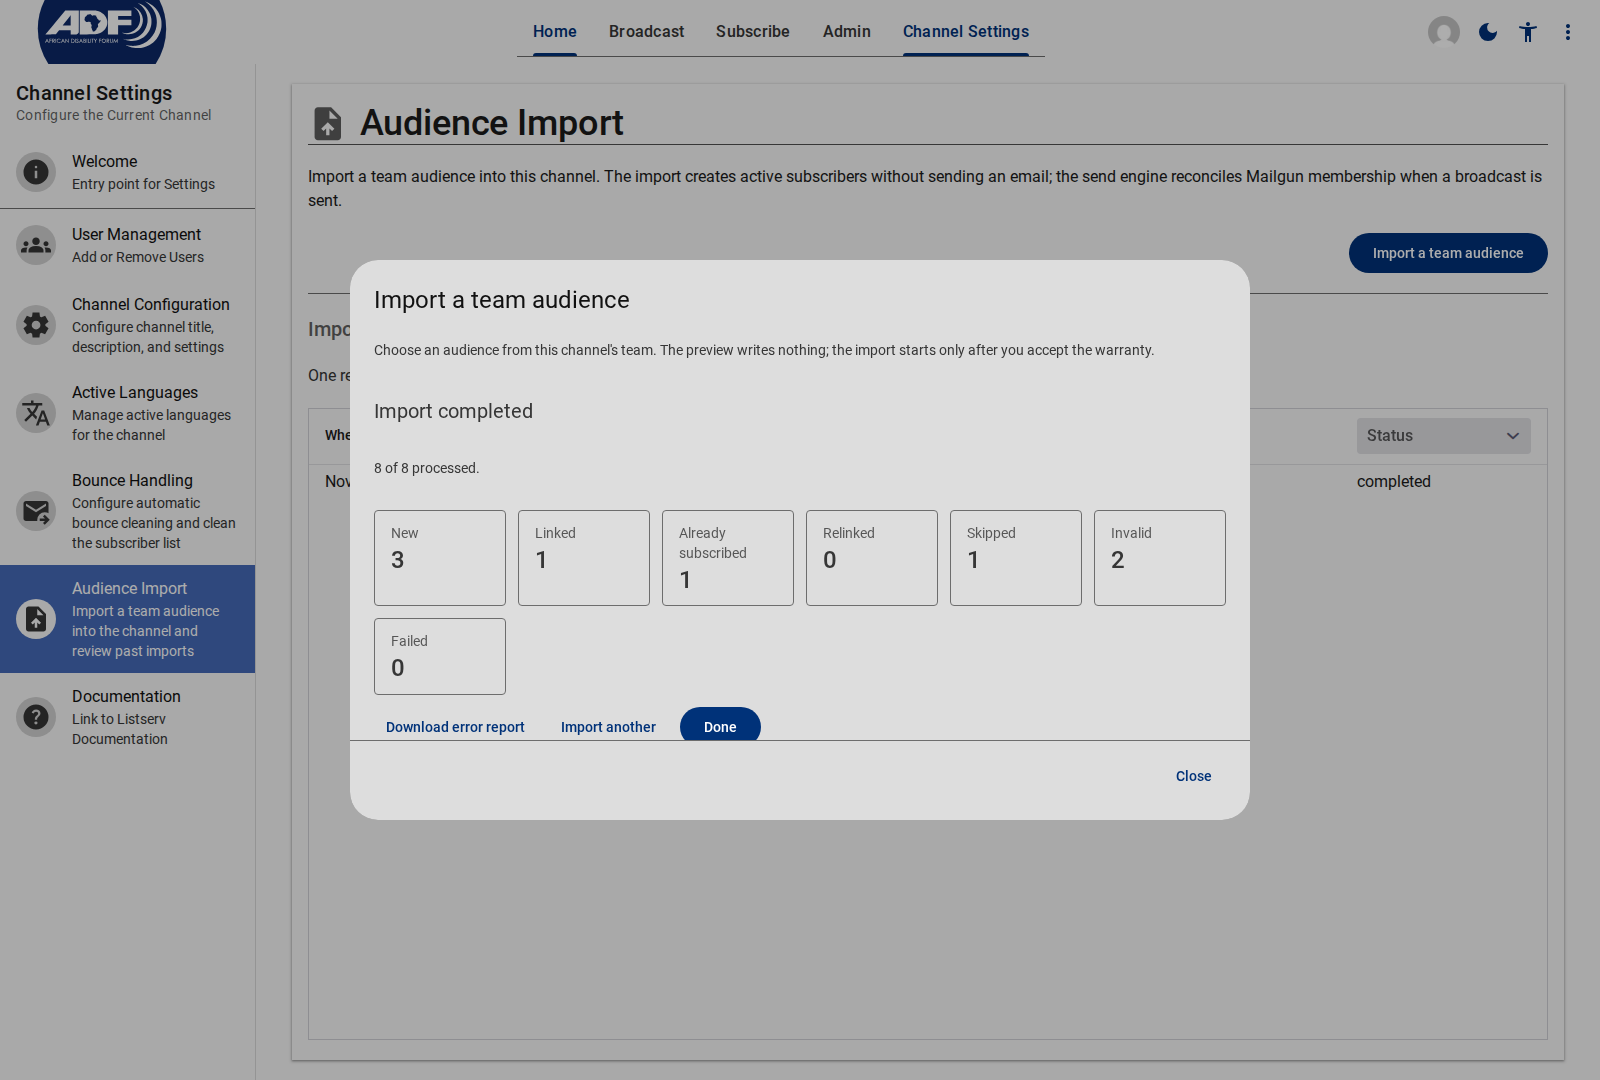
- Download error report: Appears whenever one or more rows were Invalid or Failed. Click it right away to download
listserv-import-errors.csv(row,email,reason) so you can fix those entries in Team Settings → Audiences and re-import. For privacy reasons, per-row errors and email addresses are never stored in the database — once you close the dialog, the error report is no longer available. - Import another: Resets the dialog so you can select and import another audience.
- Done: Closes the dialog and returns to the Audience Import page.
Step 6: Review the Import History
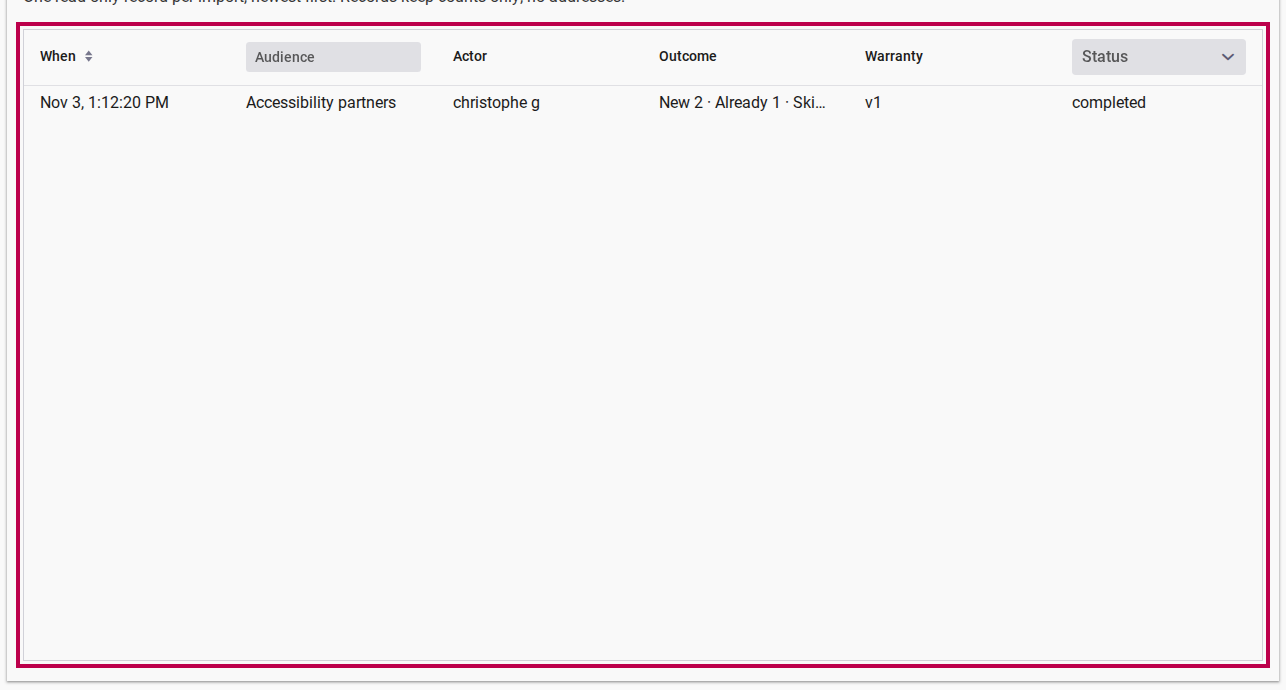
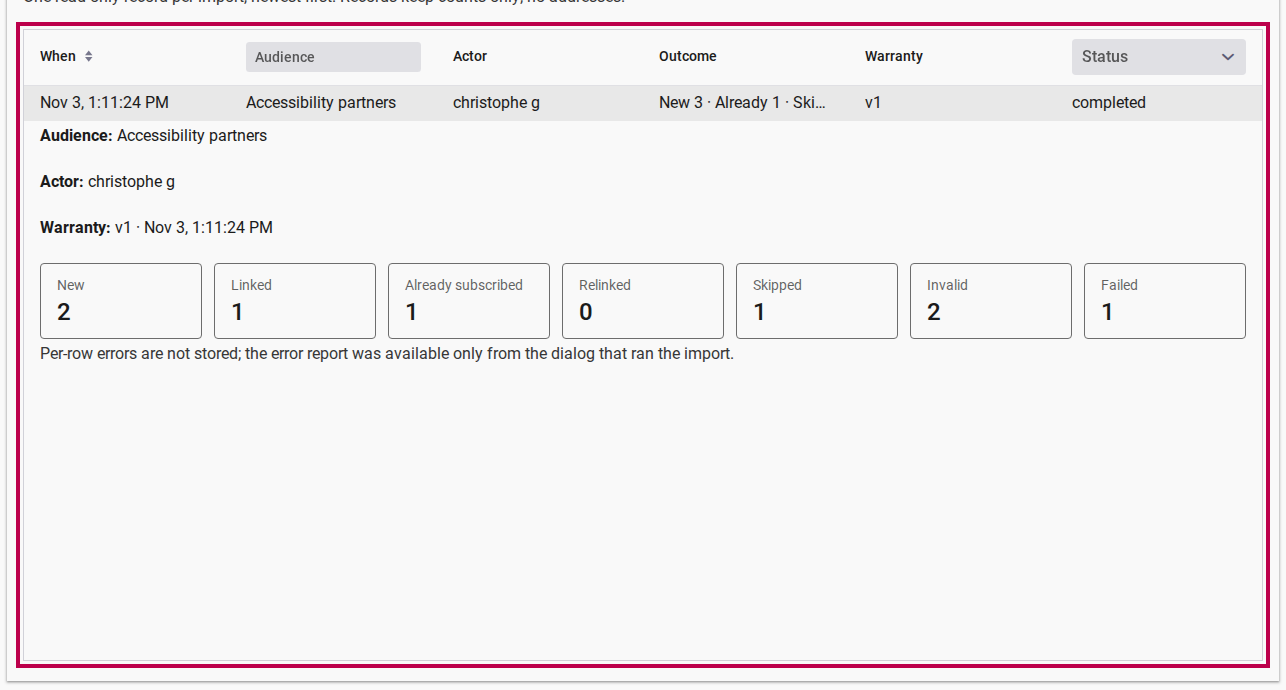
Every import is logged in the read-only Import history table on Channel Settings → Audience Import, ordered newest first.
- Use the Audience text filter or the Status dropdown (
Running,Completed,Failed) in the table header to narrow the list, or sort by When. - Read the compact Outcome summary (
New · Already · Skipped) and the recorded Warranty version (v1) for each run. - Click any row to expand its audit details in place: the Audience name snapshot, the Actor who ran the import, the Warranty version and acceptance timestamp, all seven outcome counters, and any failure message.
What Happens After an Import
- Immediate broadcast eligibility: Newly created and linked subscribers are set to
activeright away and receive the channel's next email broadcast in their preferred language (falling back to the channel's primary language when needed). - Safe re-imports: Re-importing an updated audience is completely idempotent — already-active subscribers keep their existing preferences, and only newly added contacts or missing names/languages are updated.
- Subscriber sign-in: Imported subscribers receive broadcasts by email without needing to sign in. If they later wish to sign in on the web, they can set a password using Forgot password on the sign-in page.
Related Content
- Team Audiences Reference — How to create and manage reusable recipient lists in Team Settings
- How to Send Invitations to a Team Audience — Step-by-step guide to uploading a CSV into a Team Audience
- Configuring Channel Settings — Managing channel metadata, active languages, bounce rules, and user access
- Creating & Sending Email Broadcasts — Composing and dispatching broadcasts to channel subscribers
- Subscribing & Managing Preferences — How subscribers join a channel and manage delivery settings